
Reviewed · MIYAJIMA TOURS
Hiroshima: 1-Day Hiroshima and Miyajima Tour
Hiroshima’s past and Miyajima’s sacred beauty make an unusual pair, and this full-day tour connects them without asking you to work out trains, ferries, entry tickets, and directions on your own. You move from Shukkei-en Garden and Hiroshima Castle to the Atomic Bomb Dome, then cross the Seto Inland Sea to Itsukushima Shrine.
I like the strong historical arc and the variety of places included. I also like that the ferry, train, and admission fees are covered, while you get about two hours to eat and browse on Miyajima. The main concern is time: the Peace Memorial Museum can feel rushed, especially since it is the emotional center of a Hiroshima visit.
In This Review
- Key points at a glance
- Why this Hiroshima and Miyajima pairing works
- Starting at Shukkei-en Garden
- Hiroshima Castle and the city before 1945
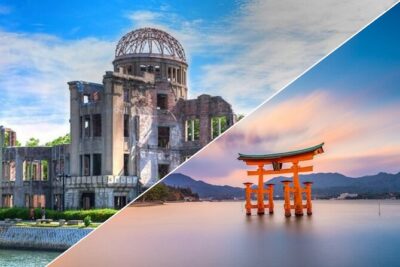
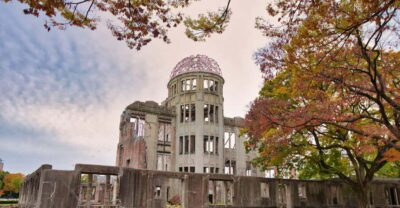
- Facing the Atomic Bomb Dome
- The Peace Memorial Museum needs your time
- A 45-minute ferry ride changes the rhythm
- Two hours on Omotesando Shopping Street
- Senjokaku Pavilion and its unfinished story
- Itsukushima Shrine and the O-torii gate
- Daisho-in Temple’s lantern-lit hall
- The return to Hiroshima Station
- Is $170 a fair price?
- Who should book this day?
- FAQ
- Where does the Hiroshima and Miyajima tour meet?
- How early should I arrive?
- How long does the tour last?
- Is the tour conducted in English?
- Is transportation to Miyajima included?
- Is lunch included?
- Is the tour suitable for wheelchair users?
- Should you book it?
Key points at a glance
- Shukkei-en opens the day quietly: See tea houses, bridges, hills, and small-scale scenery shaped during the Edo period.
- Hiroshima’s wartime story is handled in several settings: The route includes the Atomic Bomb Dome, Children’s Peace Monument, Cenotaph, Flame of Peace, and Peace Memorial Museum.
- The ferry to Miyajima takes about 45 minutes: Your guide points out relevant places along the way, giving the day a change of pace.
- Miyajima includes more than the famous gate: You visit Senjokaku Pavilion, Itsukushima Shrine, and Daisho-in Temple.
- Two hours of free time allow for lunch and shopping: You choose your own food and souvenirs on Omotesando Shopping Street.
- The tour requires stamina: Expect significant walking, stairs or uneven access at some points, and a long day of 510 minutes.
Why this Hiroshima and Miyajima pairing works
Hiroshima can feel difficult to plan because its major sights sit in different parts of the city, while Miyajima requires a separate ferry connection. This tour gives you one clear route, beginning at Hiroshima Station and ending there after the return train.
That structure matters most if you have only one day in Hiroshima. You get an introduction to the city’s older cultural sights, time at the Peace Memorial sites, and a substantial visit to Miyajima. The tradeoff is a packed schedule. You are not getting a slow, open-ended day in any one place.
The English-speaking guide is the key part of the experience. The itinerary is not just a series of photo stops. At each location, the guide explains its purpose, historical setting, and connection to Hiroshima. Isabella is one guide associated with this experience, and her organization, personality, and grasp of Japanese culture were specifically praised. Guide assignments can vary, so do not assume she will lead every departure.
A few more Hiroshima tours and experiences worth a look

Starting at Shukkei-en Garden
Meet your guide under the Tourist Information sign outside the Shinkansen gates at Hiroshima Station. Arrive 15 minutes early. The meeting point is easy to miss if you come through another part of the station, so follow the signs toward the Shinkansen gates and look for the guide holding a SNOW MONKEY RESORTS tour sign.
The first stop is Shukkei-en Garden, a calm beginning before the day turns toward Hiroshima’s painful modern history. The garden was created during the Edo period and uses a concept of a miniaturized setting. Tea houses, bridges, hills, and water features are arranged to suggest a wider natural world in a compact space.
I like this opening because it gives you a sense of Japan before the tour reaches the events of August 6, 1945. Your guide points out the best photo spots and explains the garden’s construction and restorations over roughly 400 years. You get more from the visit if you pay attention to how the garden compresses distance and scenery into a small area.
This is not a long garden stroll designed for quiet wandering. The guide leads you through selected areas, so your time is focused on key views and background. Wear shoes you can walk in comfortably, since the day includes much more ground after this first stop.
Hiroshima Castle and the city before 1945
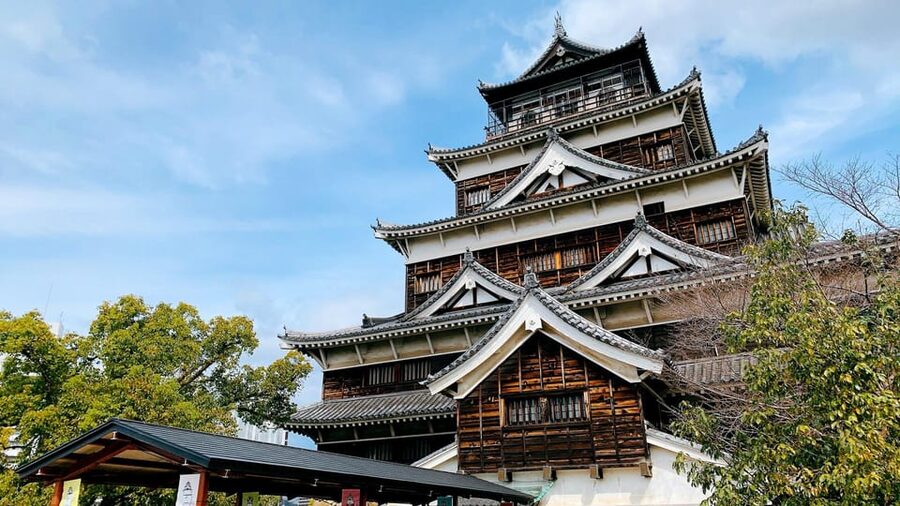
The next stop is the Hiroshima Castle ruins. You learn about the main locations within the grounds, including the Castle Tower, Ninomaru enclosure, and Hiroshima Gokoku Shrine.
The castle stop adds useful context. Hiroshima is not only a place defined by the atomic bombing. Its castle grounds connect you with the city’s earlier political and cultural life, while the shrine and castle structures help show how the area developed before the war.
Expect explanation rather than a long independent museum visit. The guide focuses on the function and meaning of the main sites inside the ruins. That is helpful if you want a clear overview, though anyone hoping to linger at every corner may find the schedule brisk.
The contrast between Shukkei-en and Hiroshima Castle is one of the better features of the morning. First you see a refined garden shaped by careful design, then a former center of authority. The route gives the city a past that reaches beyond the tragedy that made Hiroshima known around the world.
Facing the Atomic Bomb Dome
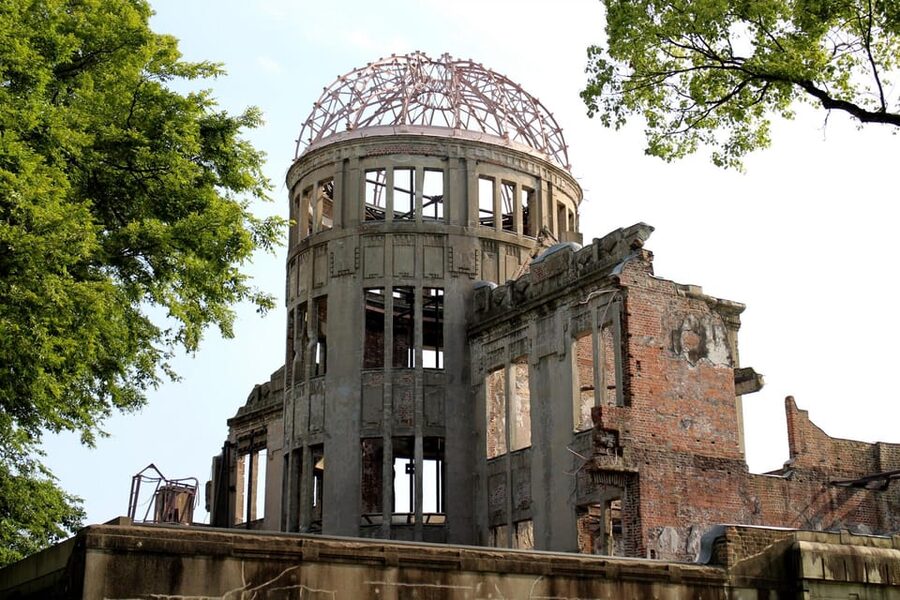
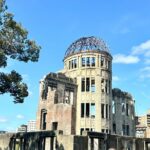
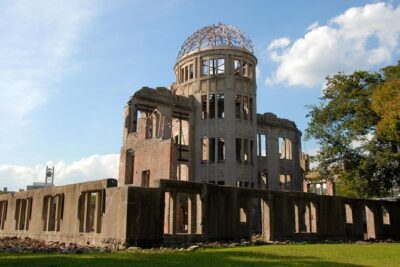
The tour then turns to the Atomic Bomb Dome in Hiroshima Peace Memorial Park. This is where the day’s tone changes.
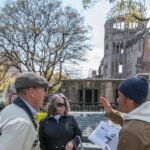
Your guide explains the wider context of World War II and the events that led to the bombing. The Dome is not presented only as a striking ruin. It becomes part of a story about the city, the bombing, and the years that followed.
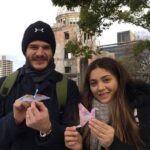
You also stop at the Children’s Peace Monument and hear about Sadako Sasaki and the children who died as a result of the bombing. The story gives a human focus to an event that can otherwise feel too large to grasp. It is a quiet stop, and you should expect the subject matter to be painful.
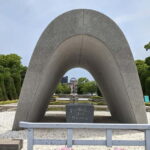
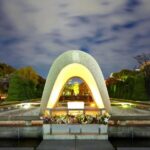
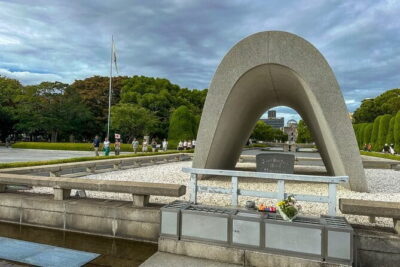
At the Cenotaph for the Victims of the Atomic Bomb, a registry records the names of those who died as a consequence of the bombing. The guide also directs your attention to the alignment of the Cenotaph, the Flame of Peace, and the Atomic Bomb Dome. It is a carefully framed view, but the meaning is more important than the photograph. Take a moment here rather than treating it as another quick stop.
This part of the tour is valuable because you are not left to interpret the memorial park without help. The guide explains the sites in sequence, so the park reads as a connected place of remembrance rather than a collection of monuments.
The Peace Memorial Museum needs your time
The Peace Memorial Museum contains personal belongings left behind by victims and explains what happened on August 6, the suffering that followed, and the rebuilding of Hiroshima.
For many people, this is the most important stop of the entire day. The exhibits are direct and emotionally heavy. You may see objects and accounts that make the human cost of the bombing far more immediate than dates and general history can do.
Here is the main weakness of the schedule. One departure received a strong overall assessment but allowed too little time in the museum, with the museum visit feeling like the shortest and most rushed part of the day. That criticism makes sense. The itinerary has many stops, and the museum is the place most likely to deserve extra attention.
If the museum is your central reason for visiting Hiroshima, consider this carefully before booking. You can still see its key exhibits, but you may not have the unhurried time needed to read everything or sit with each display. If you prefer a guided overview and want to see both Hiroshima and Miyajima in one day, the arrangement is more appealing.
The tour does not include lunch, so you should use the museum area only as a transition point before heading to the pier. Keep water with you, especially in warm weather.
A few more Hiroshima tours and experiences worth a look

A 45-minute ferry ride changes the rhythm
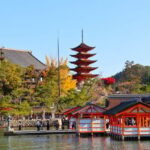
From near the museum, the group goes to the pier and boards a ferry for Miyajima. The ride takes about 45 minutes, and the guide points out relevant places along the way.
This crossing gives you a welcome pause after the memorial sites. You can sit, look out across the water, and shift your attention toward the island. Transportation is included, along with the return ferry and final train ride, so you do not need to sort out each connection during the day.
The ferry also helps make this feel like two linked visits rather than one long city walk. Still, the crossing uses a meaningful part of the schedule. The value depends on your priorities: you gain a smooth connection to Miyajima, but you have less time for independent exploration there.
Two hours on Omotesando Shopping Street
After arriving at the Miyajima pier, you walk to Omotesando Shopping Street and receive about two hours of free time. This is your chance to find lunch, buy snacks, and look for souvenirs.
Because lunch is not included, this break is practical as well as pleasant. You can choose what fits your budget and appetite rather than being tied to a group meal. It also gives you a little breathing room after the tightly guided Hiroshima portion.
Do not mistake free time for a full afternoon at leisure. Two hours must cover food, shopping, and part of the walk to the next meeting point. Keep an eye on the time and confirm where and when you need to rejoin the group.
This is also a useful point for personal priorities. If you want local treats or small gifts, Omotesando is the obvious place to look. If shopping is not important, eat promptly and save your energy for the shrine and temple visits.
Senjokaku Pavilion and its unfinished story
Senjokaku Pavilion is a distinctive stop because it was never completed. Its unfinished condition is part of the story, not a flaw to overlook.
The guide explains the building’s history and features, then gives you time to take in the setting. The pavilion offers a place to slow down and look at Miyajima from a different angle before the tour continues to Itsukushima Shrine.
I like this stop because it avoids reducing Miyajima to one famous gate. You see a place with an unusual past, not simply another polished religious site. The visit is also less emotionally demanding than the morning, giving the day some balance.
As with the rest of Miyajima, comfortable shoes matter. You will walk between several places, and the full route is not suitable for wheelchair users or people with mobility impairments.
Itsukushima Shrine and the O-torii gate
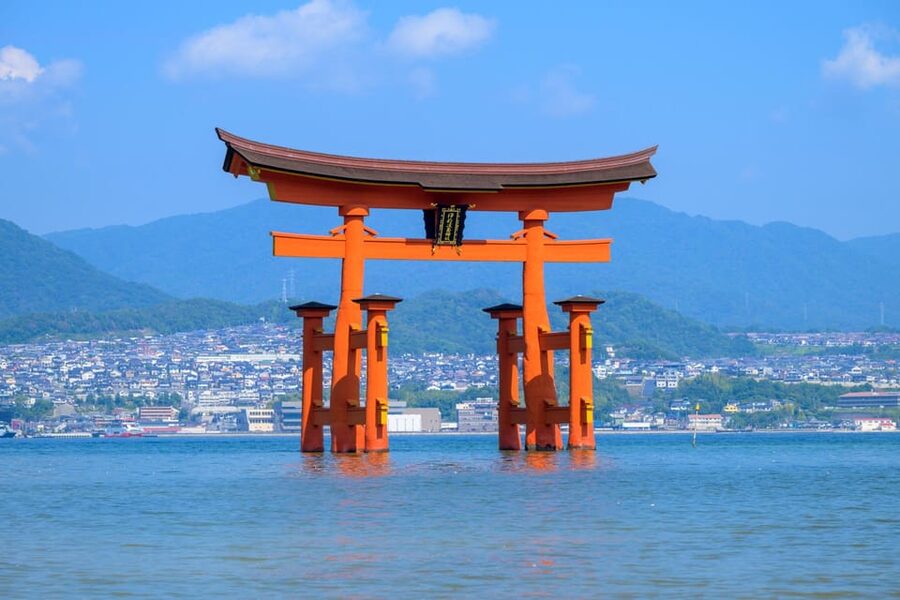
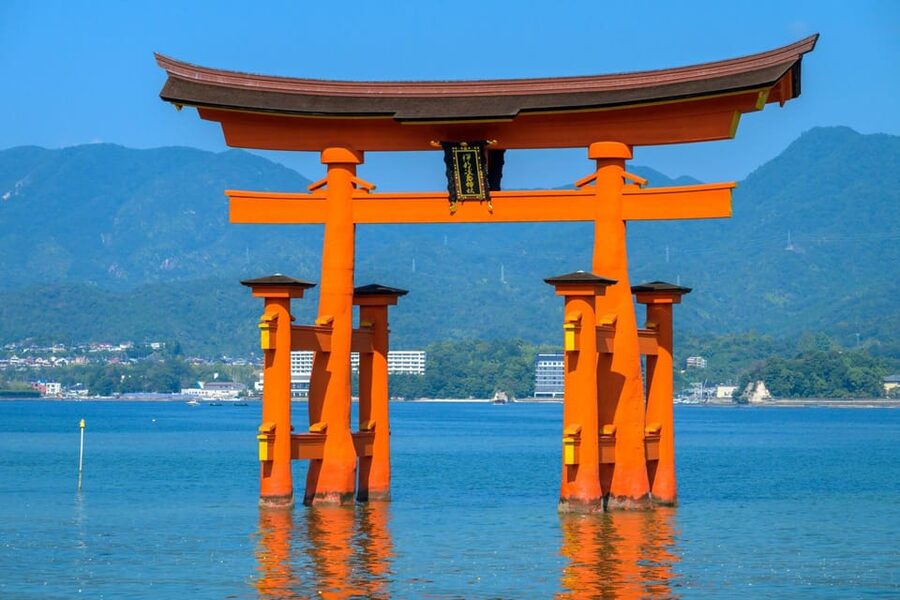
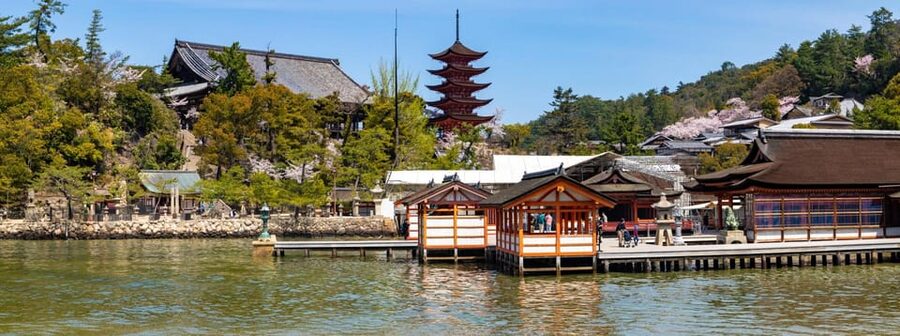
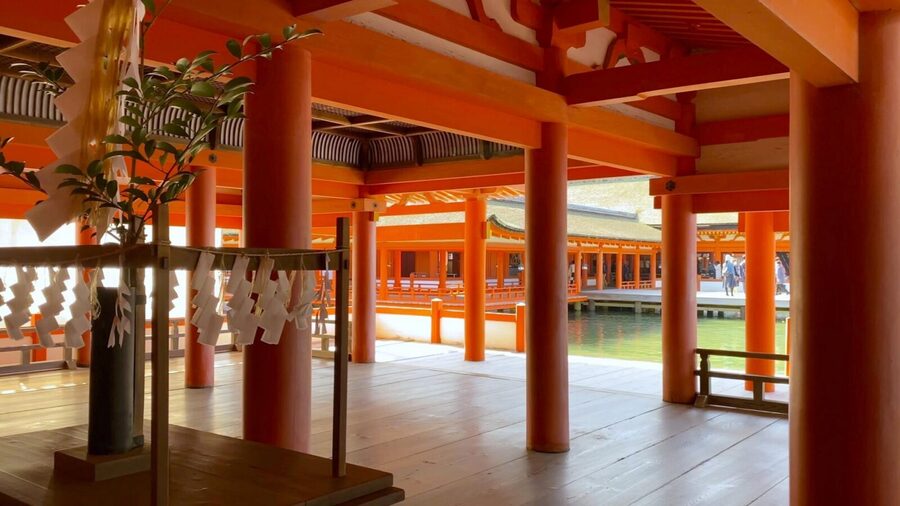
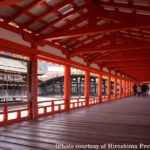
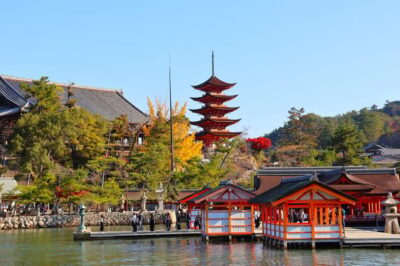
Itsukushima Shrine is the centerpiece of the Miyajima portion. The guide introduces Shintoism, Japan’s indigenous religion, and explains the shrine’s history as you move through its worship halls.
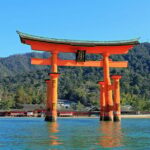
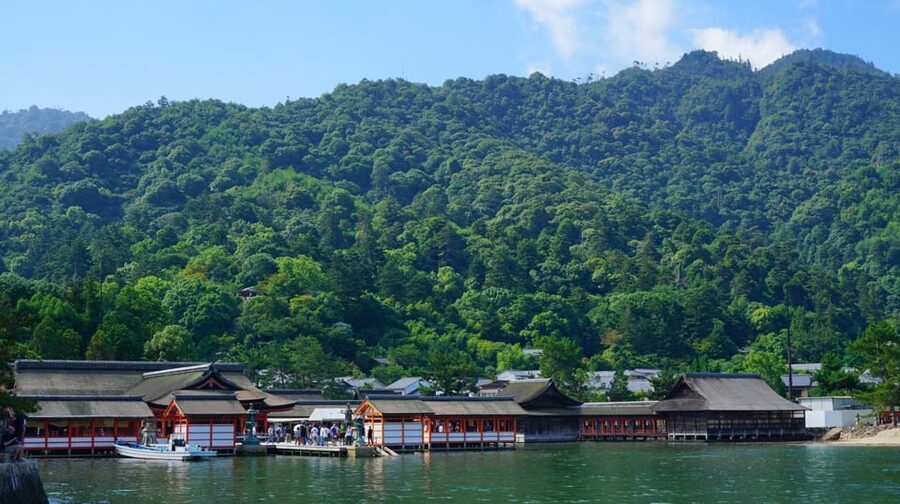
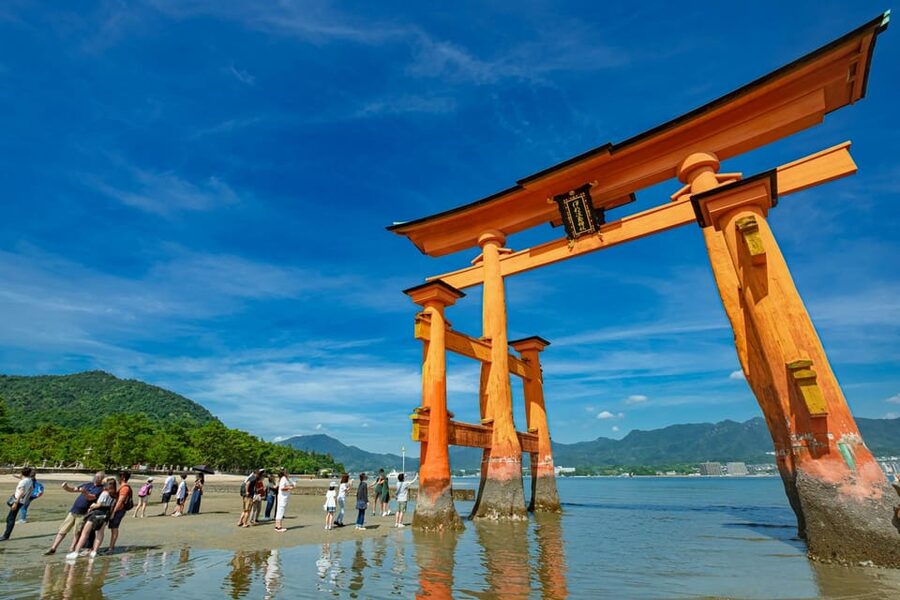
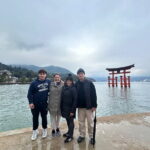
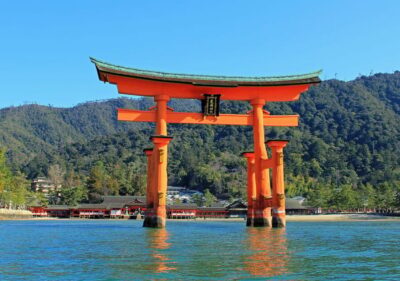
The architecture is known for its position over the Seto Inland Sea, creating the impression of a floating shrine. The O-torii gate is the famous feature, set in the water beyond the shrine complex. Your guide explains the gate and points out the relationship between the shrine buildings, the sea, and the approach.
This guided visit is more useful than simply arriving, taking a picture, and leaving. You learn why the shrine is arranged as it is and how Shinto ideas shape the site. The gate may be the image you came to see, but the worship halls and approach give it meaning.
Conditions around the water can affect how the shrine and gate appear, and the experience may vary with the day’s setting. The tour guarantees the visit to the shrine as part of the plan, but not every visual detail or activity can be treated as fixed. The availability notice also allows for changes if a part of the planned experience cannot operate as scheduled.
Daisho-in Temple’s lantern-lit hall
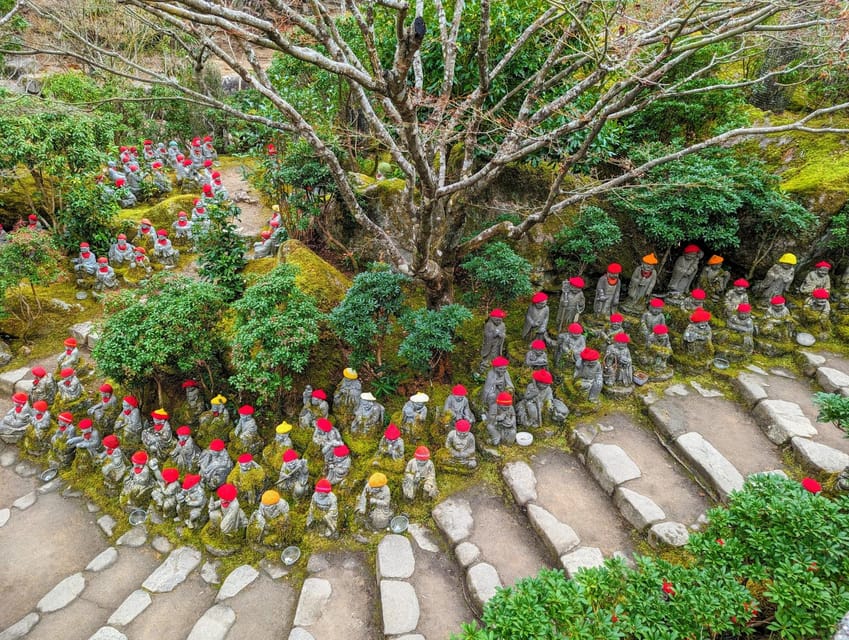
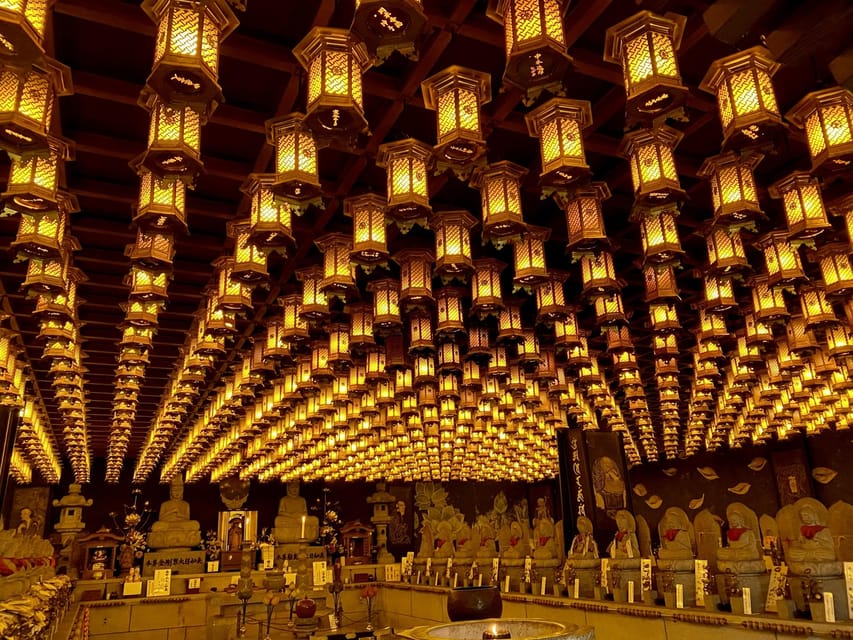
The final major visit is Daisho-in, a respected Shingon Buddhist temple. The temple includes Daishi Hall and 88 statues representing the 88 temples of the Shikoku Pilgrimage.
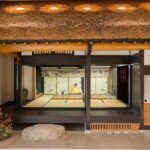
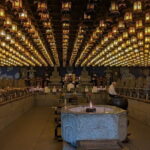
The room with golden lanterns hanging from the ceiling creates a memorable finish to the island visit. It feels very different from the open shrine buildings and the water-facing O-torii gate. You get a compact introduction to another major stream of Japanese religious practice after learning about Shintoism at Itsukushima.
This temple stop also adds depth to Miyajima. The island is not only a scenic place or shopping area. It is a religious center with Buddhist and Shinto traditions presented in different settings.
The guide accompanies you through the temple and explains the main features. If you are particularly interested in religious art, architecture, or pilgrimage traditions, this may be one of the stops you value most.
The return to Hiroshima Station
After Daisho-in, you walk back to the pier, take the ferry to the mainland, and make one final train journey. The tour ends at Hiroshima Station.
The ending is simple and useful. You return to the same broad transport hub where the day began, which makes it easier to continue your trip or collect items from the station’s coin lockers. Lockers are available if you do not want to carry luggage through the sightseeing route.
At 510 minutes, this is a long day. You should expect sustained walking, outdoor exposure, transport changes, and a steady pace. Bring water, a hat, and sunscreen, and prepare for weather changes. Children under six cannot join, and the tour is not suitable for wheelchair users or people with mobility impairments.
Is $170 a fair price?
The price is $170 per person. That is not a bargain for a self-guided day, but the value improves when you count what is included: an English-speaking guide, admission fees at all tour locations, the ferry to and from Miyajima, and the train connection back to Hiroshima Station.
You are also paying for route planning. Hiroshima and Miyajima can be visited independently, but combining Shukkei-en, Hiroshima Castle, the Peace Memorial sites, and three Miyajima highlights requires careful timing. The guide removes much of that pressure.
The price is easier to justify if you have one day and want historical explanation. It is less compelling if you prefer to spend several hours reading every museum display, shopping slowly, or wandering Miyajima without a timetable. Lunch, accommodation, and transportation to the meeting point are extra.
Free cancellation up to 24 hours before the start and reserve-now, pay-later terms give you some planning flexibility. The activity remains subject to availability, and the operator may contact you if a scheduled part needs to change.
Who should book this day?
I would recommend this tour to a first-time Hiroshima visitor with limited time, especially someone who wants historical context rather than a string of unconnected stops. It also suits you if changing between city transport, ferries, and trains feels like unnecessary work.
The tour is a good fit for adults and older children who can manage a full walking day. Isabella’s clear organization and cultural explanations point to the kind of guide-led experience this format aims to provide, though guide assignments may differ.
I would hesitate if the Peace Memorial Museum is your main purpose. You may prefer a separate, slower museum visit and a different day for Miyajima. I would also hesitate if you have mobility limits, need frequent rest, or dislike tightly timed itineraries.
FAQ
Where does the Hiroshima and Miyajima tour meet?
The meeting point is under the Tourist Information sign outside the Shinkansen gates at Hiroshima Station. The guide holds a SNOW MONKEY RESORTS tour sign.
How early should I arrive?
You should arrive 15 minutes before the scheduled start time.
How long does the tour last?
The listed duration is 510 minutes, or eight hours and 30 minutes.
Is the tour conducted in English?
Yes. The tour includes a live English-speaking guide.
Is transportation to Miyajima included?
Yes. Ferry transportation to and from Miyajima and the return train ride are included.
Is lunch included?
No. Lunch is not included, but you have about two hours of free time around Omotesando Shopping Street to choose a meal.
Is the tour suitable for wheelchair users?
No. The tour is not suitable for wheelchair users or people with mobility impairments. Children under six also cannot join.
Should you book it?
Book this tour if you want one organized day that combines Hiroshima’s memorial sites with Miyajima’s shrine, temple, and ferry crossing. The guide, admissions, and transport make the $170 price easier to defend, and the route gives you a useful first look at both places.
Think twice if you need a slow museum visit. The Peace Memorial Museum is the one part of the day I would most want to protect from rushing, yet the schedule gives you many other stops. For a broad, guided introduction, this is a strong choice. For quiet reflection and detailed museum time, split Hiroshima and Miyajima across two days.
More 1-Day Tours in Hiroshima
More Hiroshima City Tours in Hiroshima
More Miyajima Tours in Hiroshima
More tours in Hiroshima we've reviewed


Miyajima Tours, compared.
 ★ 5.0Peaceful Hiroshima & Miyajima UNESCO 1 Day Bus TourFrom $129
 ★ 4.9Hiroshima: Hiroshima and Miyajima UNESCO Sites 1-Day TourFrom $1228 hours
 ★ 5.0Hiroshima / Miyajima Full-day Private Tour with Government Licensed GuideFrom $202
 ★ 4.7Osaka/Kyoto: Hiroshima Miyajima Bus Tour & Shinkansen TicketFrom $27712 hours
 ★ 4.7From Hiroshima: Hiroshima & Miyajima 1 Day Tour with LunchFrom $1168 hours
 ★ 5.0Hiroshima and Miyajima Day Trip with Itsukushima Shrine & FerryFrom $45
